Hello there! If you’ve recently brought home a circular saw—or you’re thinking about using one for the first time—I want to start by saying, “You’ve got this.” A circular saw can feel like a big, intimidating tool, but in reality, it’s one of the most friendly power tools you can own once you understand a few basics.
This guide will walk you through everything you need to know about circular saws, safely and simply. Let’s begin by getting acquainted with your new tool.
Understanding Your Circular Saw
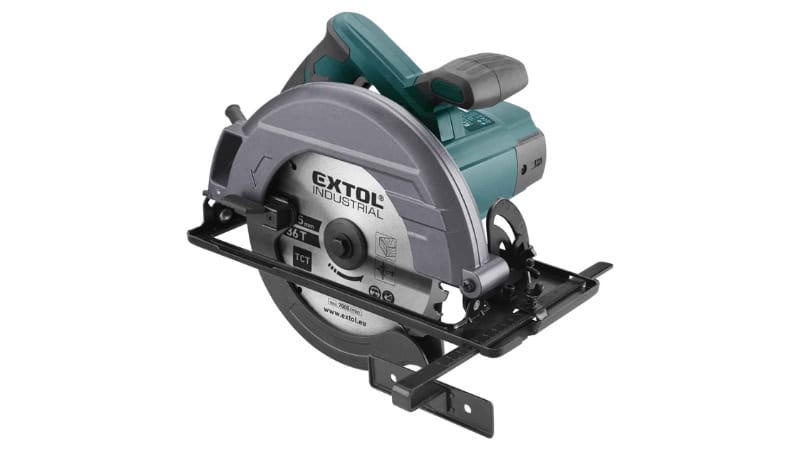
Before you make a single cut, let’s get familiar with the parts of a circular saw. Knowing them makes working together much smoother.
Key Parts
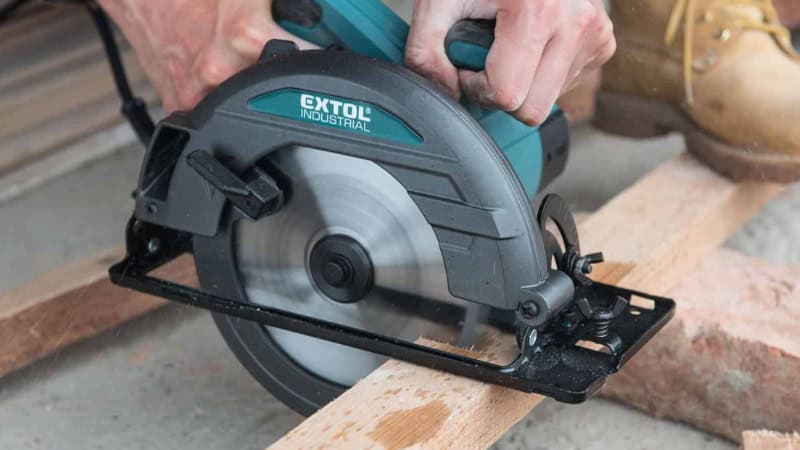
- Shoe or Base Plate: This is the flat metal plate that rests on your material. Keeping it flat is the secret to a straight cut.
- Saw Blade: The business end. Blades are defined by their diameter (common: 7-1/4″), arbor hole size, number of teeth, and tooth design.
- Blade Guard: This spring-loaded cover automatically retracts as you cut and snaps back afterward. It’s a crucial safety feature—never wedge it open.
- Depth Adjustment Lever: This lets you control how deep the blade cuts. A good rule of thumb: set the blade so its teeth extend just below the material you’re cutting (about 1/4-inch).
- Bevel Adjustment: This allows you to tilt the saw for angled cuts, like for a picture frame or a mitered corner.
- Electric Motor: The powerhouse, housed in the main body. It can be brushed (common) or brushless (more efficient, longer-lasting).
- Trigger & Safety Switch: You usually have to press a safety button before pulling the trigger. It’s a simple but important feature to prevent accidental starts.
- Handles: The main handle is usually a D-handle or “pistol” grip. The second grip is usually on the top front of the motor housing or shoe. It is essential for two-handed control, providing stability.
Types of Cuts You Can Master
Your circular saw is wonderfully capable. The two main cuts are:
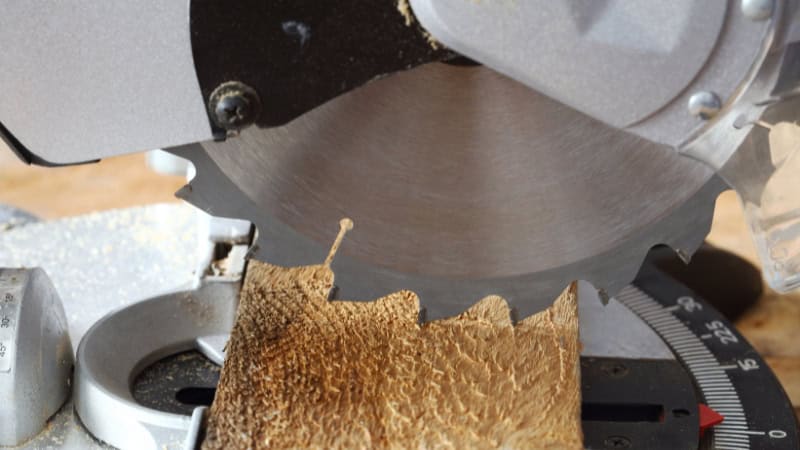
- Crosscuts: Cutting across the width or grain of a board (like shortening a 2×4).
- Rip Cuts: Cutting along the length of a board, following the grain (like ripping a wide board into a narrower strip).
What Materials Can You Cut With It?
With the right blade, a circular saw is a true all-rounder. It can handle:
- Softwoods & Hardwoods: From framing lumber to fine oak.
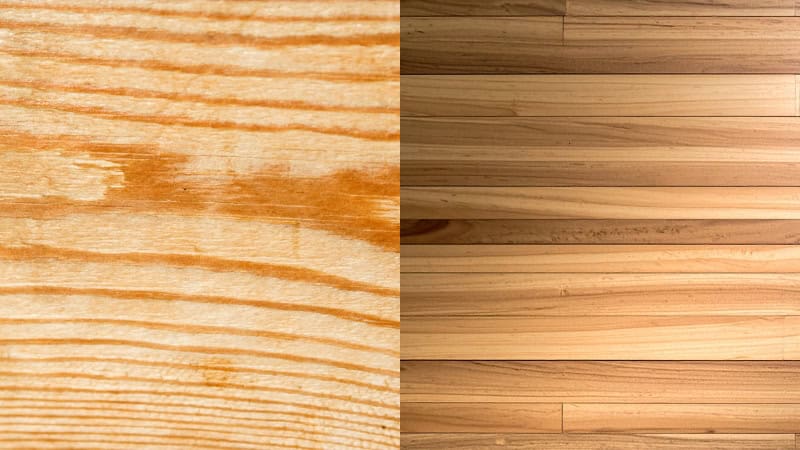
- Sheet Goods: Plywood, OSB, and MDF are no match for it.
- Other Materials: Specialized blades let you cut plastic, aluminum, and even cement board.
The key is matching the blade to the job. A blade with fewer, larger teeth (like 24-tooth) is great for fast, rough cuts in framing lumber. A blade with many small teeth (like 60-tooth) will give you a smooth, splinter-free finish on plywood.
How to Use a Circular Saw: A Step-by-Step Guide
Now for the main event. Take a deep breath—we’re going step-by-step.
Preparation Before the Cut
This stage is all about setting yourself up for success and safety. Rushing here is the most common mistake beginners make.
- Gear Up: Always wear safety glasses to protect your eyes from flying debris. Hearing protection is a smart idea, too—these saws are loud. Avoid loose clothing or jewelry that could get caught.
- Set Your Space: Work on a stable, flat surface. Sawhorses are perfect. Ensure your material is fully supported and the piece you’re cutting off won’t fall or bind the blade.
- Prepare the Saw: Unplug it or remove the battery. Set the cutting depth and check that the blade is tight and sharp. A dull blade is a dangerous blade—it forces you to push harder and can kick back.
- Mark Your Line: Use a pencil and a speed square or a straight edge to draw a clear, dark cutting line.
Making the Cut
Here we go! Imagine moving with purpose and calm control.
- Position the Saw: Place the front edge of the shoe on the board, aligning the notch or guide on the shoe with your pencil line. Hold the saw with both hands—one on the main handle, the other on the auxiliary handle if you have one.
- Start the Saw: Let the blade clear the material. Pull the trigger and let the motor reach full speed—don’t plunge a slow-moving blade into the wood.
- Guide, Don’t Force: Gently push the saw forward, letting the blade do the work. Your job is to steer. Focus on keeping the shoe flat on the material and following your line. Listen to the sound of the motor; if it starts to bog down, you’re pushing too fast.
- Finish with Care: As you near the end of the cut, support the off-cut piece with your free hand (keeping it well away from the blade path!) to prevent it from splintering or falling. Release the trigger and wait for the blade to stop completely before setting the saw down.
For Straight Cuts
If you struggle to follow a pencil line perfectly (and most of us do!), there’s a brilliant trick: use a guide. This is the #1 tip for pro-looking results.
Clamp a straight board or a long level onto your workpiece to act as a guide for the edge of your saw’s shoe. Just measure the distance from the blade to the edge of the shoe, then clamp your guide board that distance away from your cut line. Now, simply run the shoe along the guide, and you’ll get a perfectly straight cut every single time.
Common Tips
- Fight Splinters: For clean cuts on plywood, place the “good” side face down. The blade cuts upward, so any splintering will happen on the top side.
- Let It Breathe: If you’re doing a lot of cutting, give the saw a break. Motors can overheat.
- Check Your Cord: When using a corded saw, always route the cord over your shoulder and behind you, so it never gets in the cutting path.
- Trust the Guard: That springy blade guard might seem annoying, but it’s your best friend. Never, ever tie it back.
How to Maintain Your Circular Saw
A well-cared-for tool is a safe, accurate, and reliable partner. These few simple tasks will keep your saw running smoothly for years.
- Keep it Clean: After each use, unplug the saw and use a dry brush or compressed air to blow out sawdust from the motor vents, guard, and base plate. Built-up dust can cause overheating.
- Check the Blade: A dull blade forces you to push harder, creates burn marks, and is more likely to kick back. Look for chipped or missing teeth. Learn to sharpen blades or simply replace them when performance drops.
- Lubricate Moving Parts: Every few months, put a drop of lightweight oil on the depth and bevel adjustment pivots so they move smoothly.
- Inspect the Cord & Battery: For corded saws, check for nicks or fraying. For cordless, keep batteries clean and store them in a cool, dry place.
- Store it Right: Keep your saw in a dry place, preferably in its case or on a shelf—not tossed in a damp toolbox. Consider using a blade cover for extra safety and to protect the teeth.
Frequently Asked Questions
I’m left-handed. Is that okay?
Absolutely! Just be extra mindful of your stance and where the cord is. Some saws even offer left-blade models for better visibility.
Can a beginner use a circular saw?
Yes! Start with the safety basics and practice on scrap wood. Focus on keeping the shoe flat and letting the blade do the work. You’ll build confidence quickly.
My saw is kicking back violently! What’s happening?
This is usually caused by the blade binding. Check that your cutting depth isn’t set too deep, and ensure the piece you’re cutting off is supported and can fall away freely.
Can I cut wet or pressure-treated wood?
You can, but clean the saw thoroughly afterward, as the moisture and chemicals can accelerate rust. Wear a mask when cutting pressure-treated lumber.
Conclusion
Whether you’re building a bookshelf or cutting plywood for a DIY project, learning to skillfully use a circular saw will open up a world of possibilities in woodworking, helping you bring your dream creations to life. Remember, every expert was once a beginner—so don’t be afraid to take that first step and start creating!