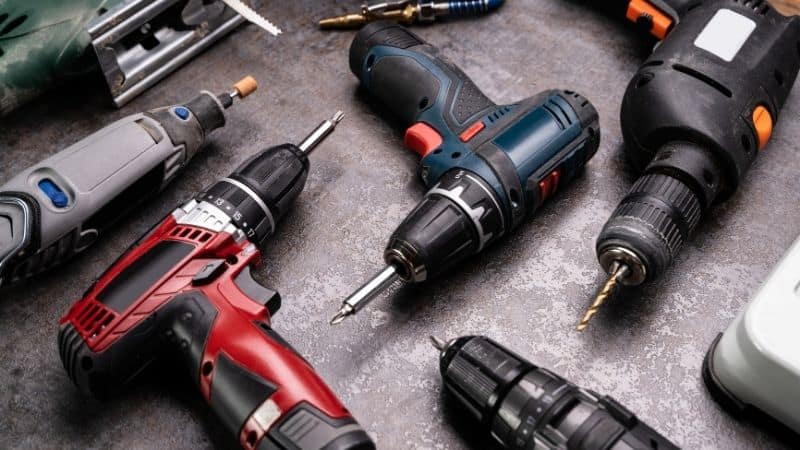
Taking care of your tools is just as important as using them correctly. Let’s explore how you can keep your valuable hand tools in top condition with some simple cleaning methods you can do at home.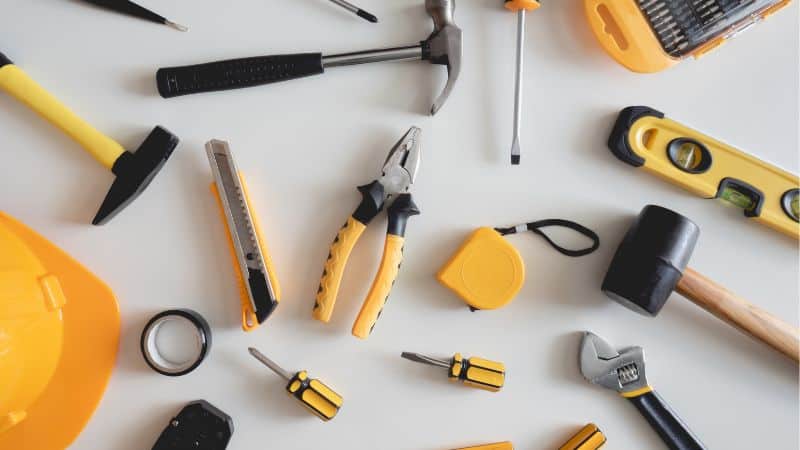
Materials You’ll Need
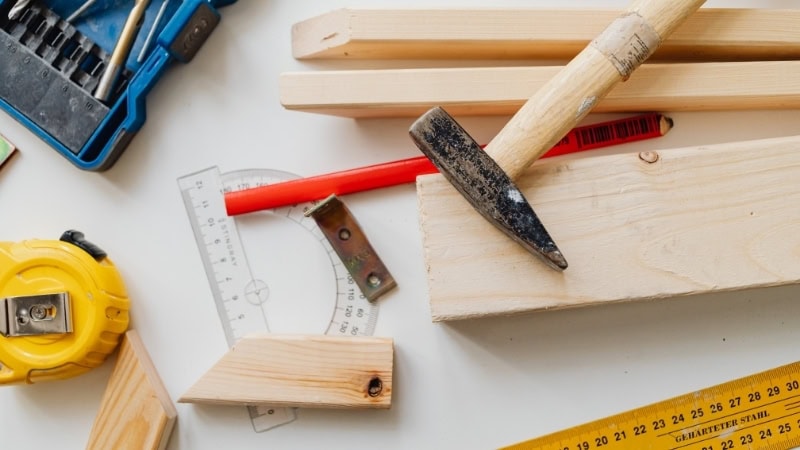
You’ll need several basic supplies to clean your hand tools properly.
Essential cleaning tools include:
- Wire brush/steel wool
- Soft-bristle brush
- Clean rags / microfiber cloths
- Bucket/basin
- Cleaning wipes
- Specialized cleaners
Safety Precautions
Always put safety first when cleaning your tools.
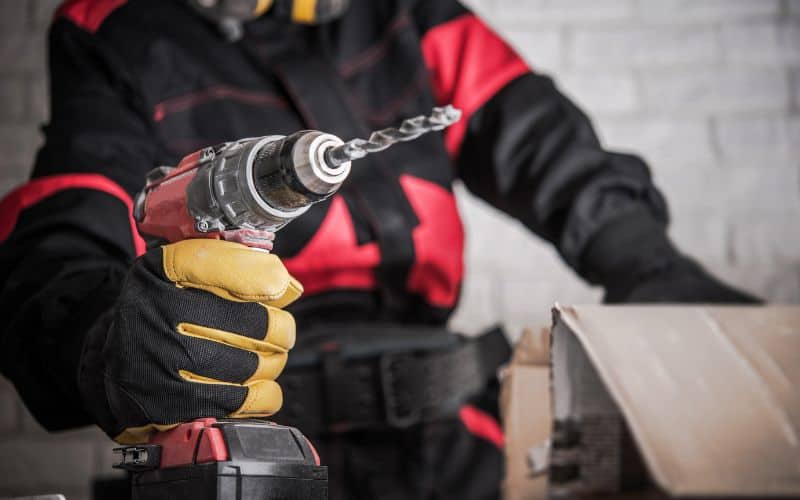
- Wear protective gloves to shield your hands from sharp edges and harsh cleaning chemicals.
- Safety glasses are also important to protect your eyes from debris and cleaning solutions that might splash.
- Make sure you work in a well-ventilated area, especially when using chemical cleaners or solvents.
- Keep all cleaning products away from children and pets.
- If you’re cleaning electrical tools, always unplug them first and follow the manufacturer’s cleaning instructions to avoid damage.
Step-By-Step Cleaning Guide
Keeping your hand tools clean extends their lifespan and ensures they work properly. Regular maintenance prevents rust and makes your tools safer to use.
Removing Dirt and Debris
Start by examining your tools to identify dirt, grease, and rust.
Use a dry cloth to wipe away loose debris and dust from the surface. This prevents scratching when you clean more deeply later.
For stubborn dirt in crevices, use a soft-bristle brush. The bristles can reach tight spots that clothes can’t access. Pay special attention to moving parts and joints where dirt often collects.
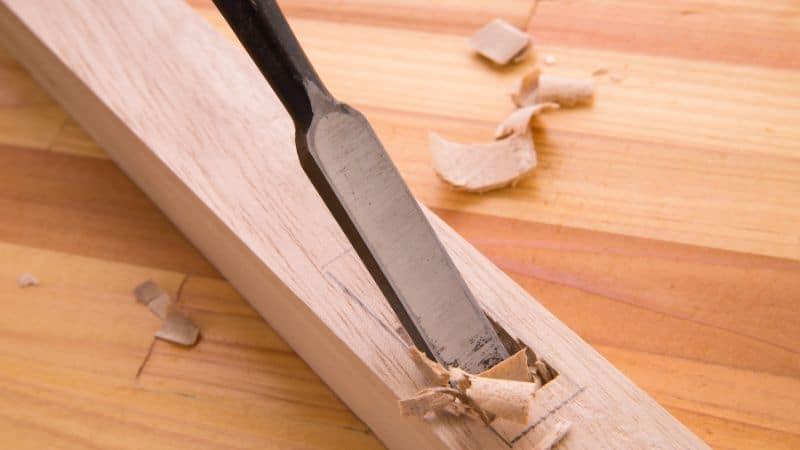
For tools with wooden handles, gently scrape off caked-on mud with a plastic scraper. Never use metal scrapers on wooden handles as they can damage the surface.
If your tools have deep rust, consider using a wire brush to remove the loose rust before moving to the cleaning solutions step.
Applying Cleaning Solutions
Mix a cleaning solution of warm water and dish soap in a bucket. About a teaspoon of dish soap per gallon of water works well for most tools. This mixture cuts through grease without damaging metal surfaces.
For heavily soiled tools, you might need a stronger solution. Consider these options:
- Light cleaning: Warm soapy water
- Medium cleaning: White vinegar solution (equal parts vinegar and water)
- Heavy cleaning: Commercial degreaser or brake parts cleaner for metal-only tools
Soak your tools in the cleaning solution for 20-30 minutes to loosen stubborn dirt and grease. Don’t soak tools with wooden handles completely – just the metal parts.
For rust removal, try a vinegar bath. The acid helps dissolve rust naturally.
Scrubbing and Rinsing
After soaking, use a wire brush to gently scrub the metal parts of your tools. Work in small circles to remove dirt from all surfaces. For stubborn spots, apply a bit more pressure.
Pay special attention to moving parts like hinges on pliers or the mechanisms of adjustable wrenches. These areas collect the most dirt and affect tool performance.
For wooden handles, use a damp cloth rather than harsh scrubbing. Too much water can damage wood and cause swelling or cracking.
Once scrubbed clean, rinse your tools thoroughly with clean water. Make sure to remove all soap residue, as it can attract more dirt later if left behind.
For tools with moving parts, work the joints during rinsing to flush out any remaining dirt or cleaning solution from hard-to-reach areas.
Drying and Storing Hand Tools
Dry your tools completely after cleaning to prevent rust. Use clean towels to remove most moisture, then let them air dry completely. Never put away damp tools!
For faster drying, you can use compressed air for crevices and joints. This helps remove hidden moisture that towels can’t reach.
Once dry, apply a light coat of oil to metal parts. Use:
- 3-in-1 oil for moving parts
- Paste wax for wooden handles
The oil creates a protective barrier against moisture and prevents rust formation. Apply just enough to leave a thin film – too much will attract dust.
Store your clean tools in a dry place with low humidity.
Hanging tools or keeping them in a toolbox with silica gel packets helps maintain their condition.
Consider tool organizers to prevent tools from rubbing against each other and causing damage.
Maintaining Your Hand Tools
Taking care of your tools ensures they’ll work well for years to come. Regular maintenance not only extends their life but also keeps them safe and effective when you need them.
Regular Inspection and Maintenance
Cleaning your hand tools after each use prevents build-up of dirt and debris that can damage them over time. Make it a habit to wipe down tools with a clean rag before putting them away.
Look for loose handles, cracks, or damaged parts during cleaning. Tighten any loose screws or bolts right away. Wooden handles need special attention – check for splinters or cracks that could hurt your hands.
Many professionals recommend cleaning tools after each project rather than waiting until they’re visibly dirty. For thorough cleaning, use warm soapy water and a brush to remove stuck-on debris.
Store your tools in a dry place. Humidity can cause rust and damage, even on well-maintained tools. Consider hanging tools or using drawer liners to prevent them from banging against each other.
Lubrication for Longevity
Proper lubrication keeps moving parts working smoothly and prevents rust. Apply lubricant to hinges, joints, and moving parts after cleaning.
Apply a small amount and wipe away any excess to prevent attracting more dirt.
For cutting tools like scissors, pruners, or snips, lubricating the pivot points reduces friction and makes them easier to use. A drop of oil on saw blades helps prevent rust between uses.
Recommended lubricants for different tools:
- Pliers and wrenches: Light machine oil or silicone spray
- Saws and cutting tools: Paste wax or specialized tool oil
- Measuring tools: Silicone-based lubricant (avoid oil on measuring surfaces)
Remember to wipe away excess lubricant to prevent it from transferring to your projects or attracting dust.
Handling Rust and Corrosion
Rust is the enemy of metal tools, but it’s treatable if caught early. For light rust, try soaking tools in hot water with a commercial cleaner for 20-30 minutes before scrubbing with a wire brush.
For stubborn rust, try these methods:
- Vinegar soak: Submerge rusted parts in white vinegar overnight
- Baking soda paste: Make a paste with water and scrub affected areas
- Steel wool: Gently scrub away surface rust without damaging the metal
After removing rust, rinse tools thoroughly and dry them completely. Apply a thin coat of oil or rust inhibitor to prevent future corrosion.
Some woodworkers suggest soaking heavily rusted tools in hot soapy water first, then scrubbing each one individually like washing dishes. This method works well for hand tools with multiple components.
Prevent rust by keeping your tools dry and occasionally wiping metal surfaces with an oily rag. This thin protective layer keeps moisture away from the metal.
Conclusion
Taking care of your hand tools is a simple task that pays off big time. Clean tools work better, last longer, and keep you safer when you use them.
By following these simple cleaning tips, you’ll extend the life of your hand tools and save money in the long run. Happy tool cleaning!